On Paper
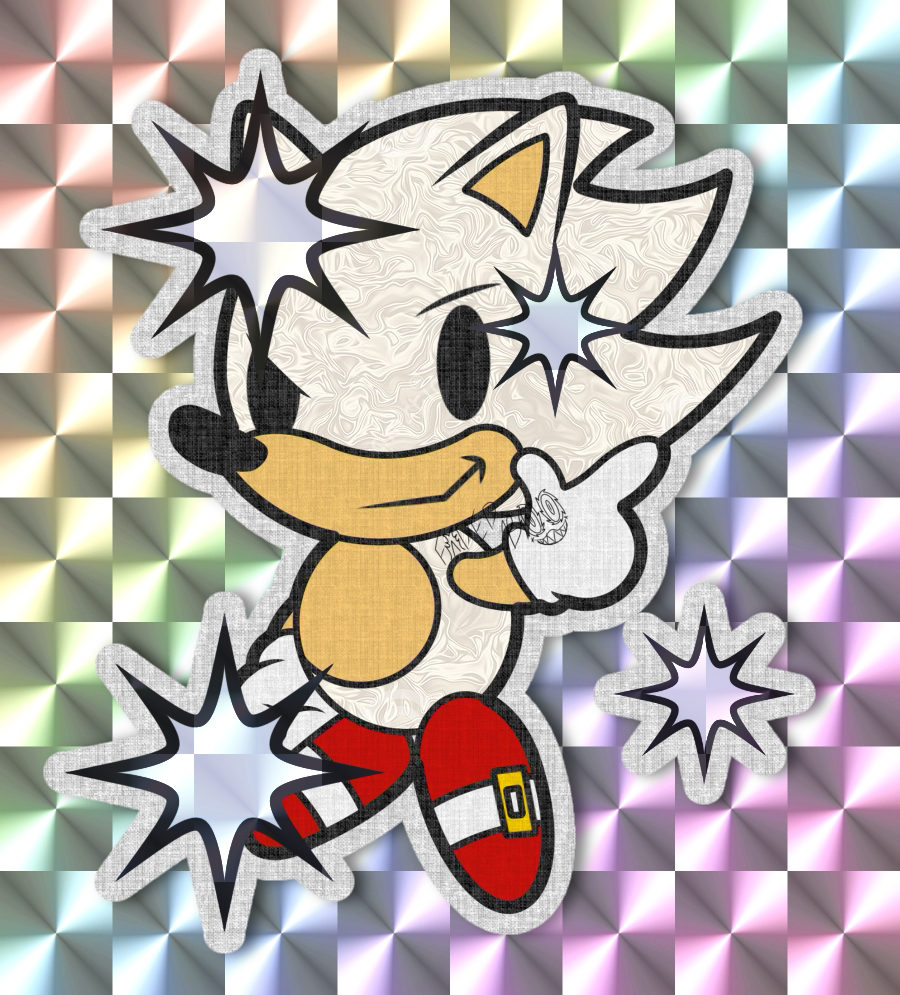
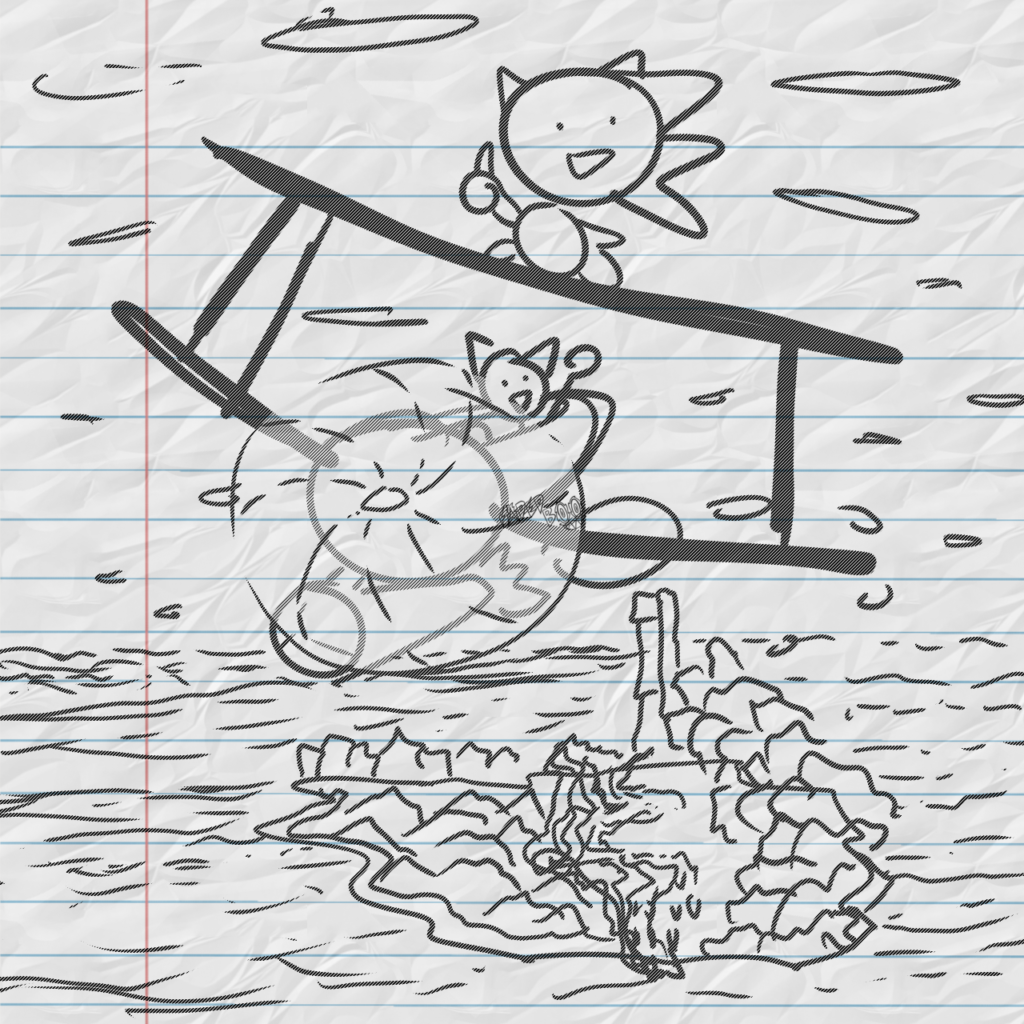
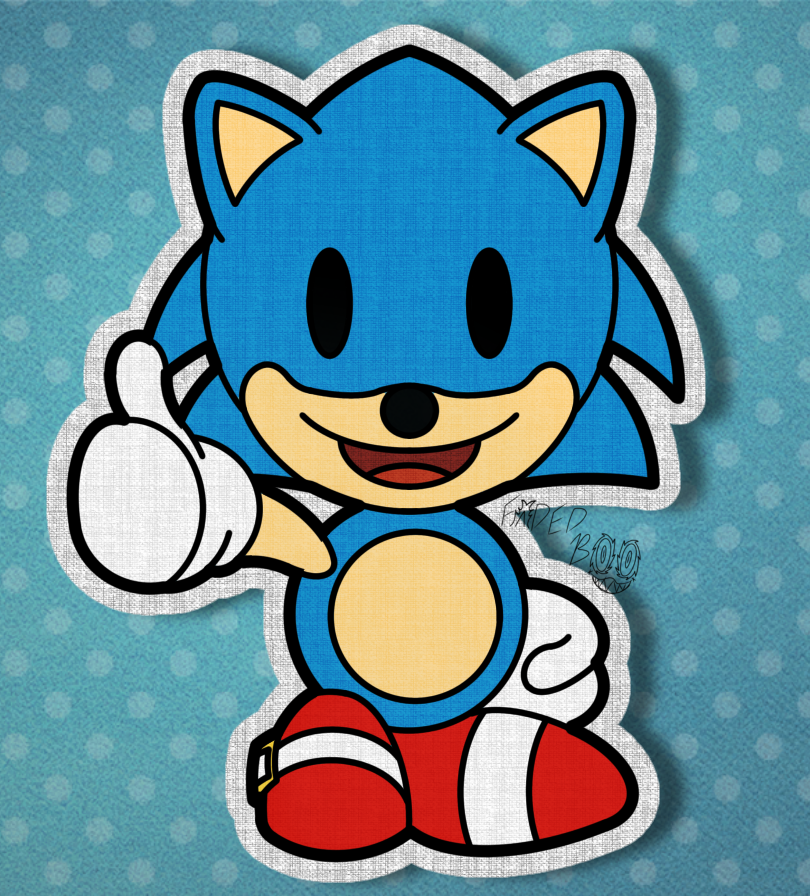
In the beginning of the project, I was interested in going back to the artstyle that I was good with, but wanted to make my own spin of it. Initially Sonic had legs but was scrapped because I wanted body types to be consistent.


After the characters were finished, I would change the rotations of the head, arms, and legs to make the characters feel more alive than static, as well as to mimic a particular video game’s animation style. Then I would import all six frames (three frames total for both characters) into a 3D software called Maya. However this posed a challenge in that the software couldn’t view transparent images by direct upload, so I had to go back into the drawing program and make each character completely white on a black background so that the software’s lighting engine would know what would be transparent and opaque.
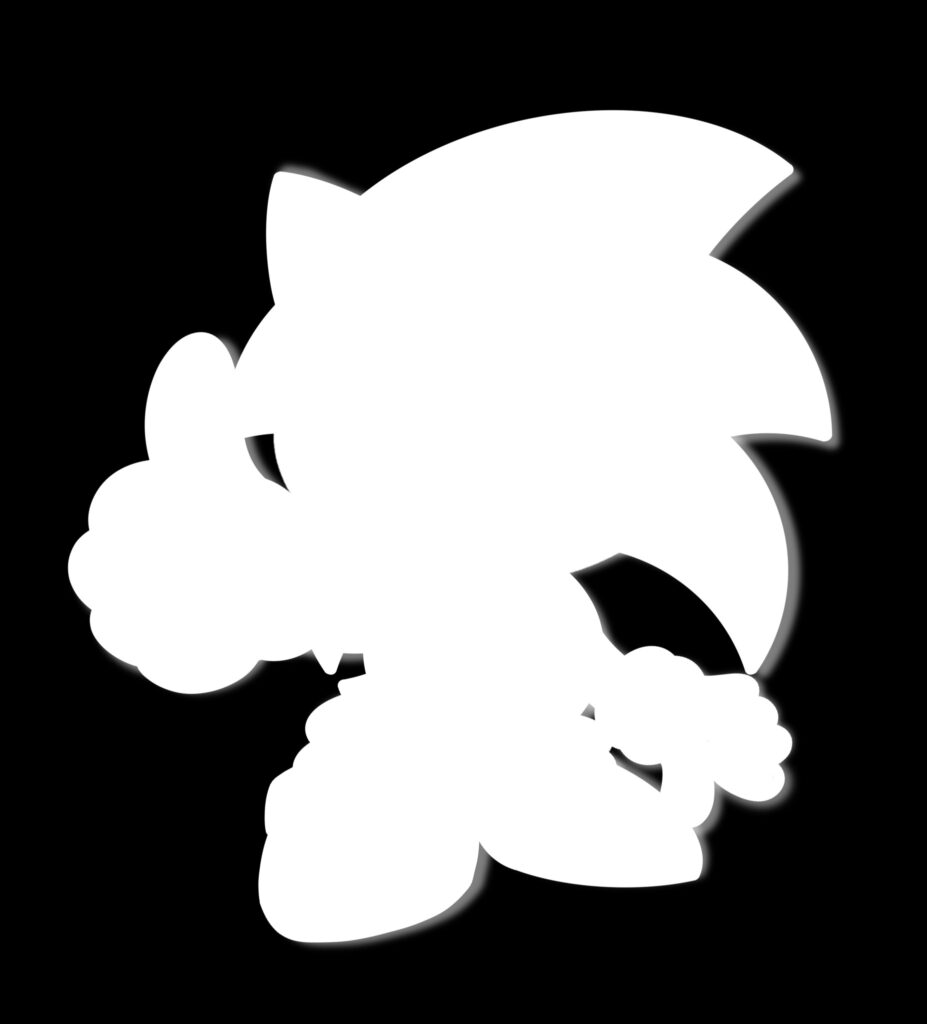
Example of how to make transparent images appear in Maya. To make a 2d plane, insert the image in plane, then in opacity settings, theres an option to add another image, and so the image above is what to insert. This is the process for how I made the characters, clouds, and bush trees.
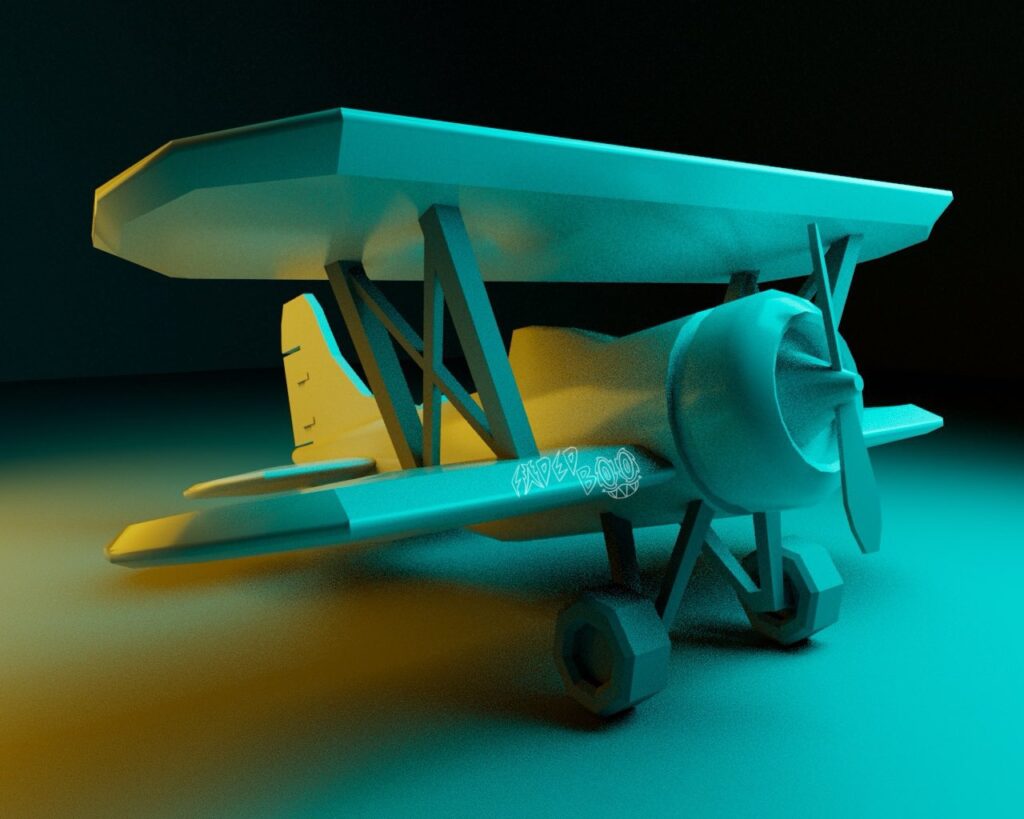
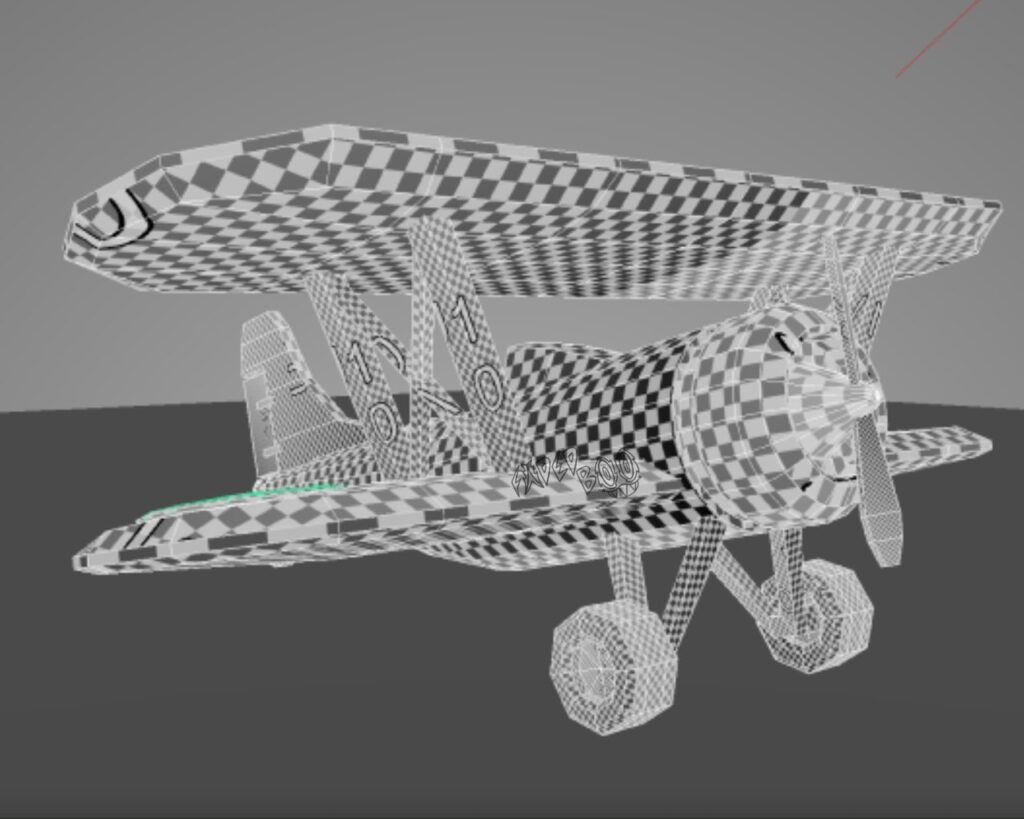
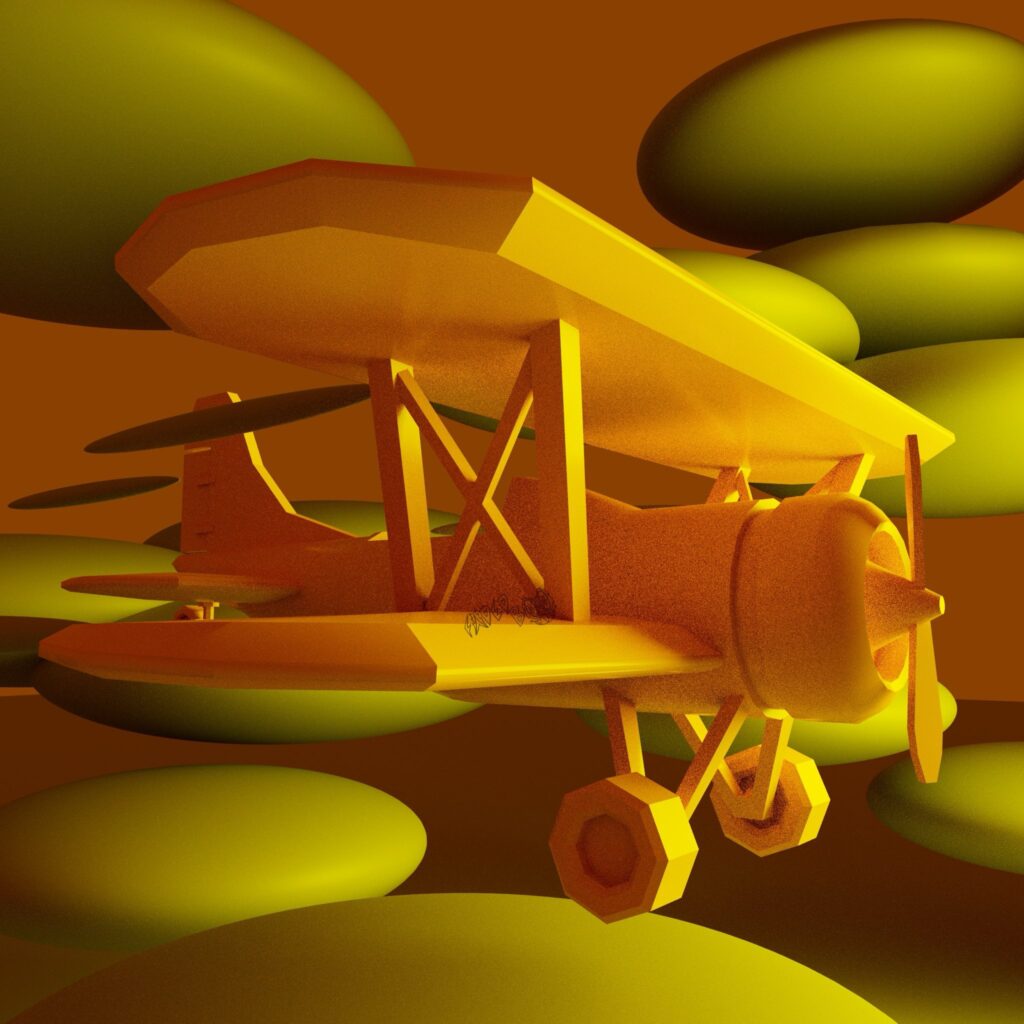
The island, mountains, cardboard mountains, factory and plane were all poly-modeled in Maya, then UV mapped for texturing and baking in Substance Painter, then to finally be brought back into Maya for inserting the finalized texture sets. This was the most fun part because of this being my practice into the modeling pipeline.
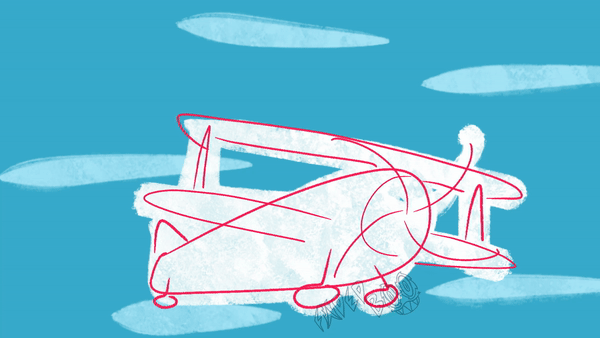
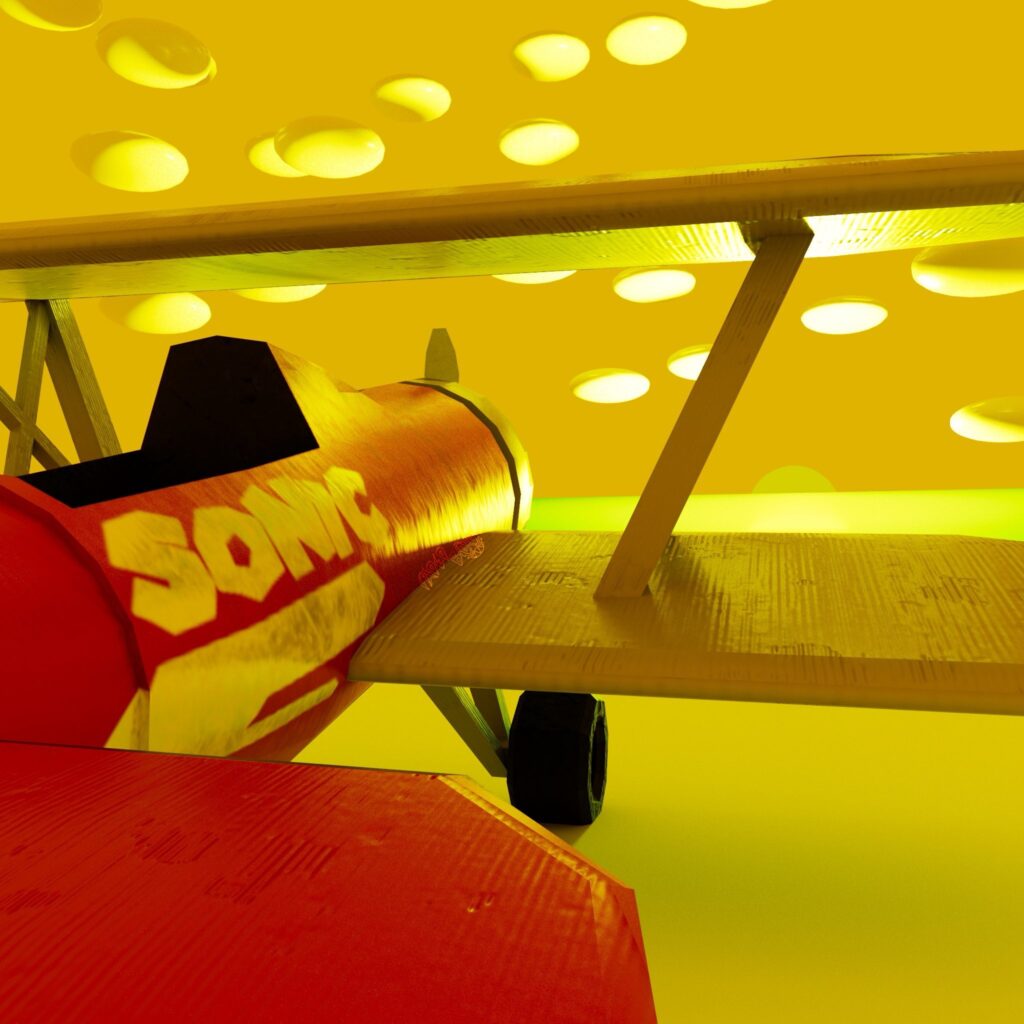
The plane model is where I take the pipeline further by adding rigging.
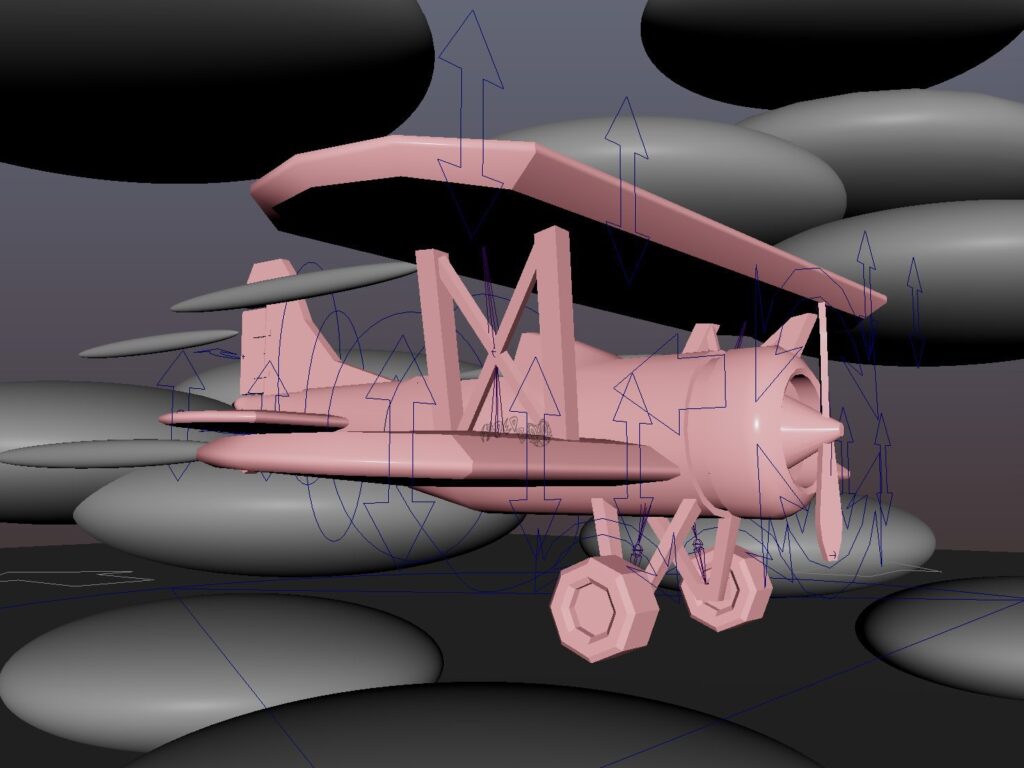
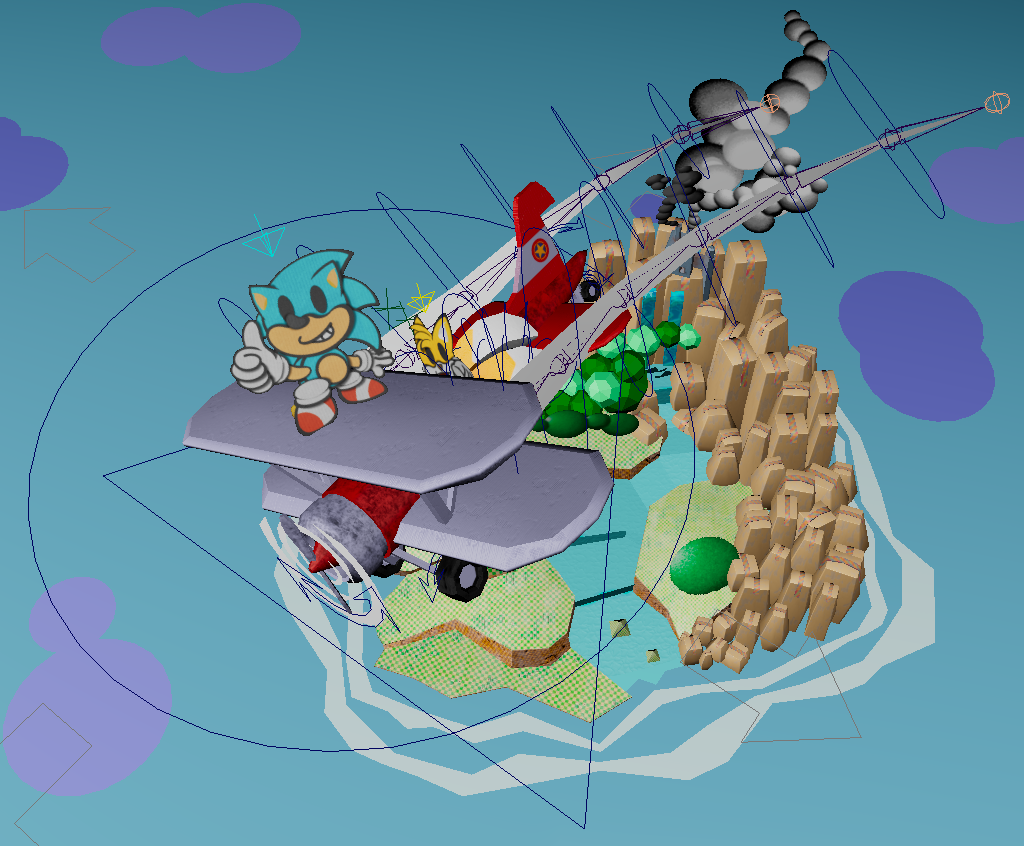
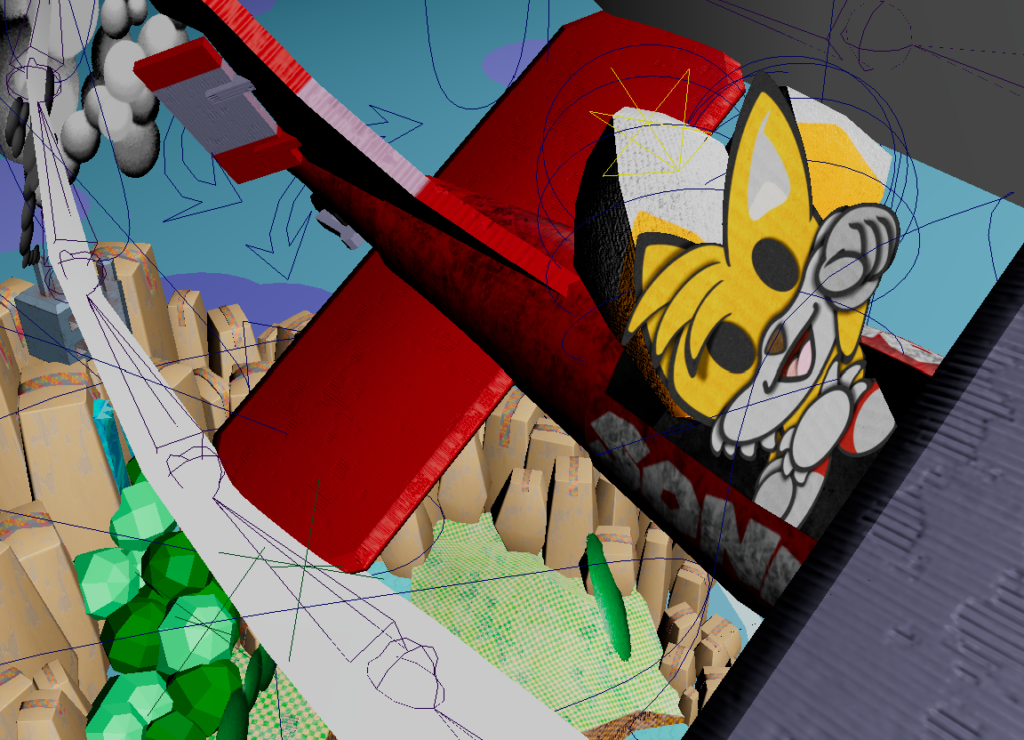
What you might’ve noticed was the arrows above the character’s heads. I’ve discovered that I can make an attribute slider for what frame gets displayed, and to key each frame without going to the object list and turning on and off visibility each time!
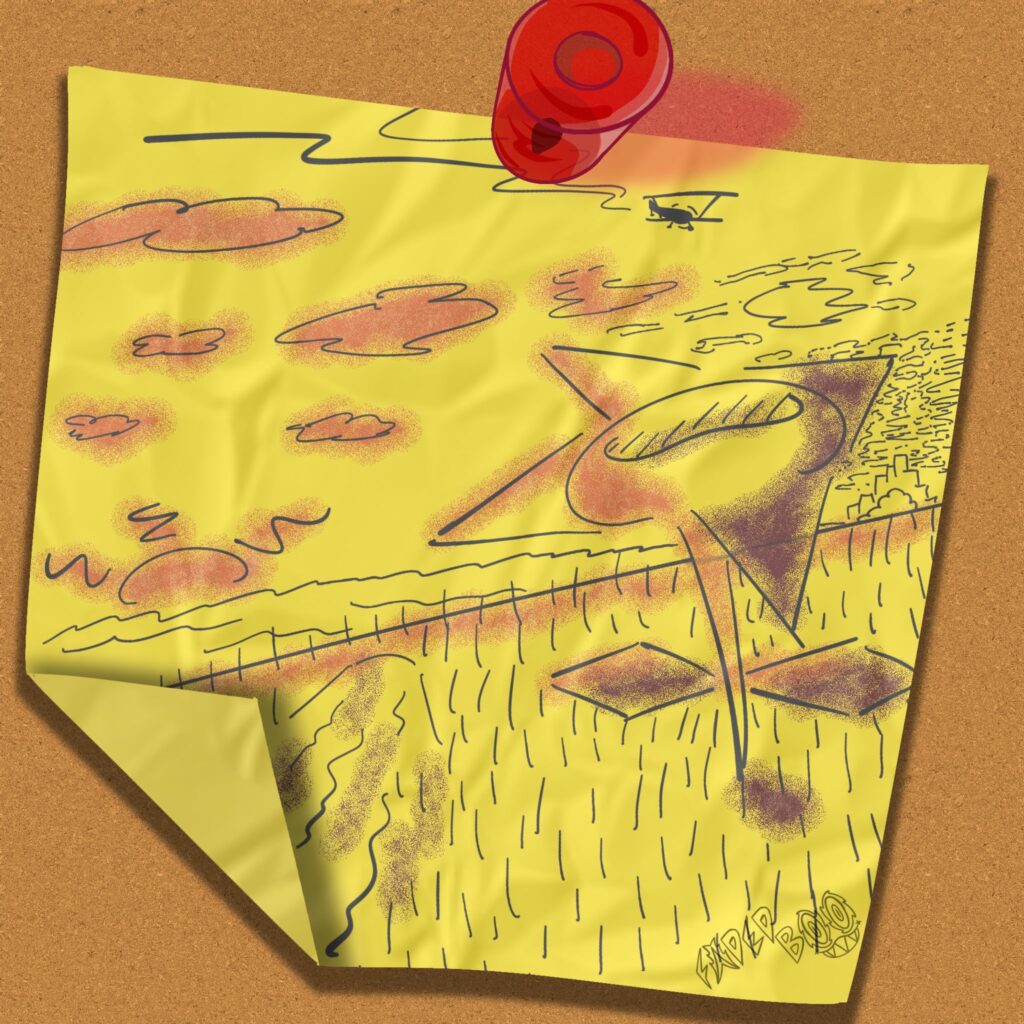
In the middle of making the final animation, I wanted to make a sneak peek for the final result of what culminated to 2 months of buildup…

Bonus Content